



Short answer: You can accept Bitcoin payments on Shopify in 2026 through a crypto payment provider linked in your Shopify settings. The two main routes are self-hosted BTCPay Server (zero processor fees, full self-custody) or a third-party processor like BitPay, OpenNode, Strike, or CoinGate (easier setup, fees of about 1%). Below is a full breakdown of each route, the real costs, and a step-by-step setup guide.
- Shopify merchants activate Bitcoin checkout under Settings → Payments → Additional payment methods, by connecting a crypto provider.
- BTCPay Server charges zero processing fees and sends coins straight to your own wallet, but you must run and maintain the server yourself (roughly $10–30/month in hosting).
- Third-party processors such as BitPay, OpenNode, Strike, and CoinGate are easier to start with and can auto-convert BTC to fiat, but they take a cut (typically around 1%) and usually require identity verification.
- Accepting Lightning Network payments gives your customers near-instant checkout with fees of a few cents; both BTCPay Server and several processors support it.
- You still owe taxes on crypto revenue in most countries. Keep a record of the fiat value of every sale at the time of payment.
Can Shopify stores accept Bitcoin in 2026?
Yes. Shopify itself does not handle Bitcoin directly, but it allows approved crypto payment providers to plug into your checkout. Once connected, customers see a Bitcoin option at checkout, pay from their own wallet, and your order is marked as paid automatically.

The option appears under Settings → Payments → Additional payment methods in your Shopify admin. Which providers are listed depends on your region, because crypto payment rules differ by country. Shopify’s own crypto documentation names providers such as BitPay, OpenNode, Strike, Crypto.com, DePay, Lunu, Bit2Me Commerce, and IBEX Pay, with different support for on-chain Bitcoin, Lightning, fiat settlement, and regional availability.
- Can Shopify stores accept Bitcoin in 2026?
- The three ways to accept Bitcoin on Shopify
- 1. Self-hosted BTCPay Server: zero fees, full control
- 2. Third-party crypto processors: the easy route
- 3. Manual payments: the no-integration fallback
- Step-by-step: accepting Bitcoin on Shopify with a processor
- Step 1: Create an account with a crypto payment provider
- Step 2: Open your Shopify payment settings
- Step 3: Add the provider as an additional payment method
- Step 4: Enter your provider credentials
- Step 5: Choose which coins to accept
- Step 6: Set your settlement preference
- Step 7: Run a test checkout
- Step-by-step: accepting Bitcoin on Shopify with BTCPay Server
- Step 1: Deploy BTCPay Server on a VPS
- Step 2: Create your BTCPay store and connect a wallet
- Step 3: Add the Shopify fragment and install the plugin
- Step 4: Connect the app in your Shopify admin
- Step 5: Enable Lightning for instant checkout
- Step 6: Test with a real invoice
- Fees and the real cost of accepting Bitcoin
- Volatility, settlement, and refunds
- Taxes and record-keeping
- Common mistakes merchants make
- Frequently asked questions
- Is it legal to accept Bitcoin payments on Shopify?
- What fees will I pay to accept Bitcoin on Shopify?
- Do I need KYC to accept Bitcoin via BTCPay Server?
- Can customers pay with Lightning Network on my Shopify store?
- Should I convert Bitcoin payments to cash automatically?
- How long does a Bitcoin payment take to confirm?
- Final word
A quick note for US merchants: PayPal’s “Pay with Crypto” feature also appears inside the PayPal checkout flow on Shopify, which lets buyers spend crypto without you installing a separate gateway. Non-US merchants generally need a dedicated crypto provider instead.
The three ways to accept Bitcoin on Shopify
Every setup falls into one of three camps. Picking the right one matters more than anything else, because each trades control against convenience.
1. Self-hosted BTCPay Server: zero fees, full control
BTCPay Server is free, open-source software you install on your own server. It connects to your Shopify store and takes Bitcoin payments with zero processing fees, and the coins go straight to your own wallet. No middleman holds your funds, and there is no KYC paperwork.
It supports both on-chain Bitcoin and the Lightning Network, shows a QR code at checkout, handles invoices and refunds automatically, and exports CSV files for your records. BTCPay maintains a current Shopify V2 integration (the older V1 setup was deprecated, so follow the current V2 guide in BTCPay’s official docs).

The catch is that self-hosting is work. You need a small VPS (about $10–30/month), a domain name, and you are responsible for updates, backups, and security. For a Lightning setup, you must also back up your channel state. Stores doing real volume usually find the fee savings worth it; tiny stores may not.
Want the full walkthrough? Learn how to set up BTCPay Server on your own VPS, from deployment to your first live invoice.
Running your own node is also the backbone of Bitcoin self-sovereignty. If you want to understand that side, see our guide on how to run a Bitcoin node at home.
2. Third-party crypto processors: the easy route
Processors such as BitPay, OpenNode, Strike, CoinGate, and NOWPayments act as the middleman. They handle the checkout, confirm the payment, and can auto-convert your Bitcoin into fiat (USD, EUR, etc.) paid out to your bank account.
Setup is usually a few clicks: install the provider’s app from the Shopify App Store, connect your provider account with an API key, choose which coins to accept, and run a test checkout. Most merchants are live within an hour.
The trade-off is money and control. Processors typically charge around 1% per transaction (check each provider’s current pricing, as it changes), and most require identity verification of your business. Your Bitcoin first lands with them, not with you.
3. Manual payments: the no-integration fallback
Some merchants add a “Manual payment” option in Shopify called “Pay with Bitcoin” and give buyers a wallet address plus order instructions. This needs no provider at all, but you must confirm every payment by hand, which does not scale and invites errors. It works for very low volume or for stores testing demand before investing in a real integration.

Step-by-step: accepting Bitcoin on Shopify with a processor
This is the fastest path most merchants take. The exact clicks vary slightly by provider, but the flow is the same.
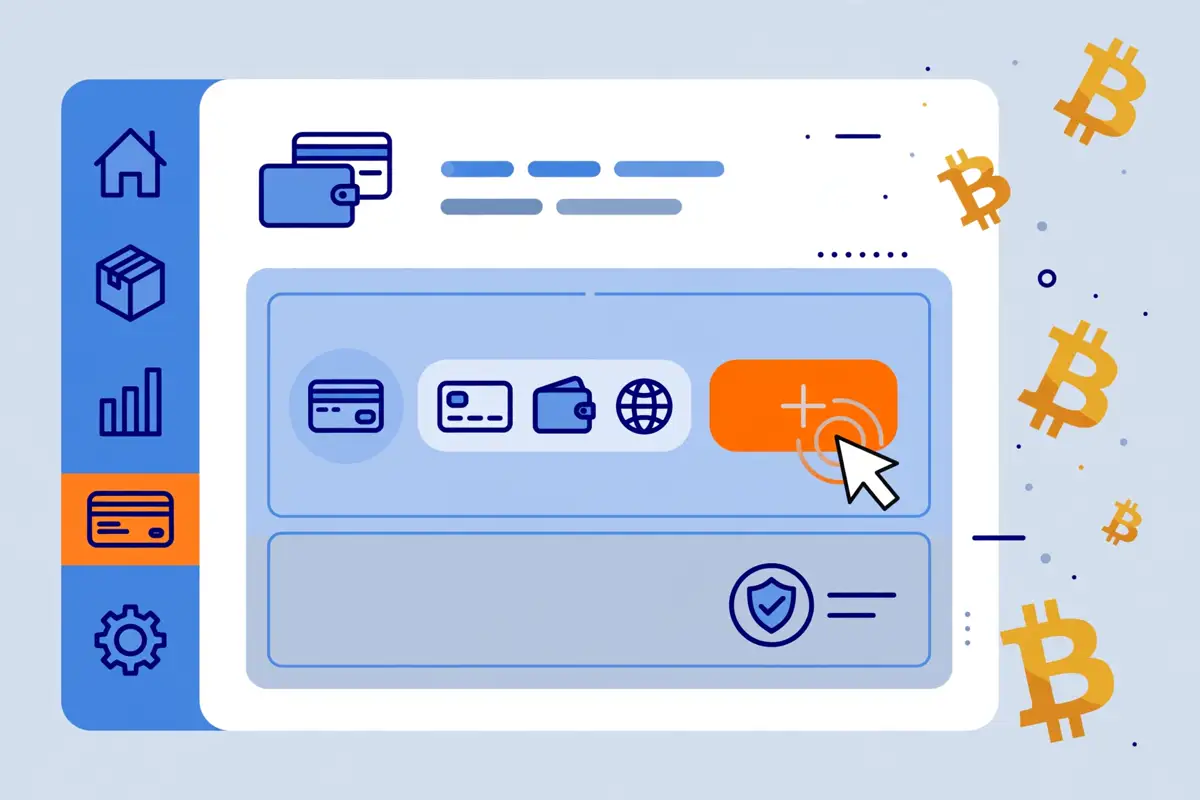
Step 1: Create an account with a crypto payment provider
Pick a provider supported in your country. Common choices are BitPay, OpenNode, Strike, CoinGate, and NOWPayments. Complete their signup and business verification, then generate your API credentials.
Step 2: Open your Shopify payment settings
In your Shopify admin, click Settings (bottom left), then go to the Payments tab.
Step 3: Add the provider as an additional payment method
Scroll to Additional payment methods and click Add payment methods. Search for your provider, click Activate, then Connect.
Step 4: Enter your provider credentials
Paste the API key or account credentials from Step 1. Some providers (like CoinPayments) use a Merchant ID plus an IPN secret instead of a single key.
Step 5: Choose which coins to accept
Select Bitcoin at minimum. Many providers also support Ethereum, stablecoins like USDT or USDC, and other coins. Stablecoins are worth considering because they remove price volatility from your revenue.
Step 6: Set your settlement preference
Decide whether you keep the Bitcoin or have the processor auto-convert it to fiat and deposit it to your bank. Auto-conversion removes volatility risk but usually costs a little extra and can add a payout delay.
Step 7: Run a test checkout
Place a small test order and pay with Bitcoin. Confirm that the order status flips to Paid automatically and that funds arrive where you expect. Only then should you announce the new payment option to customers.
Step-by-step: accepting Bitcoin on Shopify with BTCPay Server
This route takes more work but costs nothing in processing fees and keeps you fully self-custodial.
Step 1: Deploy BTCPay Server on a VPS
Rent a small VPS (4GB RAM is a common minimum) and install BTCPay Server following the official deployment guide. This takes a few hours the first time, including blockchain sync.
Step 2: Create your BTCPay store and connect a wallet
Inside BTCPay, create a store and link the wallet where you want to receive payments. A hardware wallet is ideal for larger revenue. Our Bitcoin wallet beginner’s guide covers how wallets work, and our hot vs cold wallet explainer will help you pick the right storage.
Step 3: Add the Shopify fragment and install the plugin
Add the Shopify deployment fragment to your BTCPay install, then follow the official Shopify V2 guide to deploy the BTCPay Shopify app on your server. Note that the old V1 integration was deprecated, so do not follow outdated tutorials that describe the V1 flow.
Step 4: Connect the app in your Shopify admin
In Shopify, go to Settings → Payments → Additional payment methods, install the BTCPay app, and connect it to your BTCPay store using your server URL, store ID, and API key.
Step 5: Enable Lightning for instant checkout
Connect a Lightning node or channel source inside BTCPay. Lightning payments settle in seconds for fractions of a cent, which makes small checkouts practical. If you are new to self-custody tools, Sparrow Wallet is a good desktop wallet to learn with, and remember to keep proper seed phrase backups.
Step 6: Test with a real invoice
Generate a test invoice, pay it on-chain and once over Lightning, and verify both orders mark as paid. Check that refunds and CSV exports behave the way your accounting needs.
Fees and the real cost of accepting Bitcoin
The headline numbers are simple: processors charge roughly 1% per transaction, while BTCPay Server charges zero processing fees. But the real comparison has more lines.
With a processor, your costs are the transaction fee, possible currency-conversion spreads on fiat settlement, and any monthly plan the provider charges. With BTCPay, you pay VPS hosting ($10–30/month), a domain ($10–15/year), on-chain fees when you move funds, and your own time for setup and maintenance. At low volumes, a 1% processor can actually be cheaper once you value your time. At higher volumes, self-hosting wins clearly.
For comparison: card payments on Shopify typically cost 2.9% + $0.30 per transaction, so even a 1% crypto processor undercuts cards, and Bitcoin settlement usually clears faster than card payouts across borders.
Volatility, settlement, and refunds
The biggest worry merchants have is Bitcoin’s price swings. You have three defenses. First, use auto-conversion to fiat with a processor, so you never hold the volatility. Second, accept stablecoins (USDT, USDC) alongside Bitcoin, which customers increasingly prefer for payments. Third, if you keep Bitcoin, treat it as a treasury decision, not an accident: set a policy on how much you hold and when you sell.
Refunds work differently in crypto. Bitcoin transactions cannot be reversed, so refunds are manual: you send the coins back from your wallet at the agreed rate. Make your refund policy clear on the site, because customers cannot charge back the way they can with cards.

Taxes and record-keeping
In most countries, crypto revenue is taxable income, valued at the fiat exchange rate at the moment of the sale. That means every Bitcoin payment needs a timestamp and a price record. Processors and BTCPay both export CSV files of your transactions; feed those into your accounting software.
Rules differ by country and change often, so treat this as a reminder rather than advice: talk to an accountant who understands crypto before your first tax year ends. Also note that some countries (including Pakistan, where many of our readers are based) have shifting crypto regulations, so check your local rules before you start.
Common mistakes merchants make
Mistake 1: Following an outdated integration guide. BTCPay’s V1 Shopify integration is deprecated. Use the current V2 docs only.
Mistake 2: Ignoring Lightning. On-chain confirmation can take 10–60 minutes at busy times. Lightning settles in seconds and costs almost nothing, which is what makes Bitcoin practical at checkout.
Mistake 3: Holding all revenue in Bitcoin without a plan. A 10% overnight swing is normal for BTC. If you cannot afford that on your revenue, auto-convert to fiat or stablecoins.
Mistake 4: No refund policy. Decide your refund terms in writing before the first Bitcoin order arrives.
Mistake 5: Losing the wallet keys. Self-custody means no password reset. Back up your seed phrase properly from day one.
Bitcoin payments are becoming a normal part of online business. Real-world adoption keeps growing: earlier this year, Bitcoin payments reached 5,000 stores in Kazakhstan through Binance Pay, a sign of where retail checkout is heading.
Frequently asked questions
Is it legal to accept Bitcoin payments on Shopify?
In most countries, yes, accepting Bitcoin for goods is legal, but crypto regulations vary widely. Some countries restrict it. Check your local rules before enabling it, and confirm your chosen provider supports your country.
What fees will I pay to accept Bitcoin on Shopify?
Third-party processors typically charge around 1% per transaction plus any fiat-conversion spread. BTCPay Server charges zero processing fees; you only pay for your server hosting (about $10–30/month) and on-chain network fees.
Do I need KYC to accept Bitcoin via BTCPay Server?
No. BTCPay Server is self-hosted and non-custodial, so there is no identity verification. Most third-party processors do require business KYC, especially if you settle to a bank account.
Can customers pay with Lightning Network on my Shopify store?
Yes. BTCPay Server has built-in Lightning support, and several third-party providers (including OpenNode and Strike) support Lightning checkout too. Lightning payments settle in seconds for fractions of a cent.
Should I convert Bitcoin payments to cash automatically?
If you cannot absorb Bitcoin’s price swings, yes. Auto-conversion to fiat or accepting stablecoins like USDC removes volatility from your revenue. If you want to build a Bitcoin treasury, keep the coins but set a written policy on holdings and sales.
How long does a Bitcoin payment take to confirm?
On-chain payments typically confirm within 10–60 minutes depending on network congestion and the fee the customer attaches. Lightning payments confirm in seconds. Most processors mark orders as paid after their own confirmation threshold, so test the flow before going live.
Final word
Accepting Bitcoin payments on Shopify in 2026 is a solved problem: connect a provider in your payment settings, or self-host BTCPay Server if you want zero fees and full custody. The technology is the easy part. The decisions that matter are fee structure, volatility policy, and record-keeping, so get those three right before you flip the switch.
Next step: List the providers available in your country inside Settings → Payments → Additional payment methods, compare their fees and settlement options against the table above, and run one test checkout before announcing Bitcoin payments to your customers.
Selling on WooCommerce instead? You can follow the same zero-fee BTCPay approach in our WooCommerce Bitcoin payments guide.