


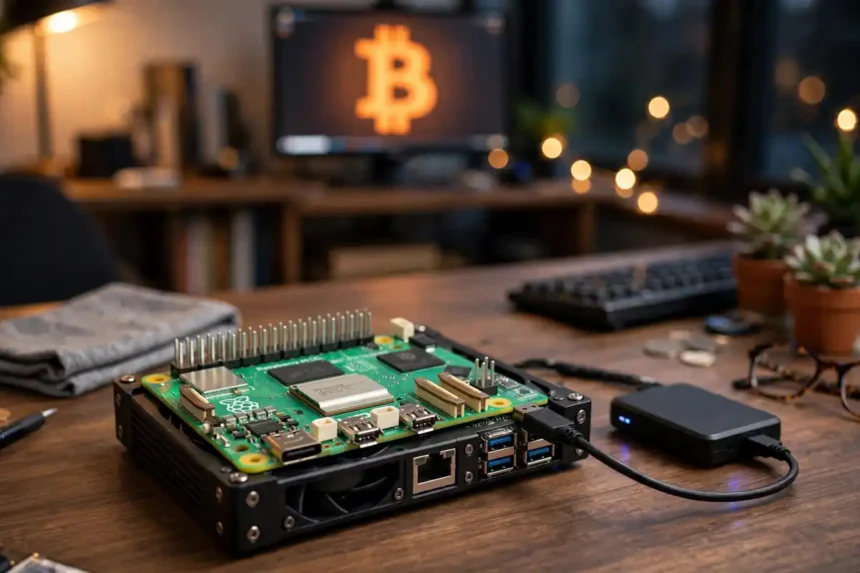
Running a Bitcoin node at home is simpler than it sounds. You buy a small computer like a Raspberry Pi 5, install free node software such as Umbrel or Start9, connect it to your router, and let it download the blockchain. After a few days of syncing, your node checks every Bitcoin transaction against the network rules by itself.

That means no company, wallet app, or exchange tells you what is true. Your own machine does.
- What Is a Bitcoin Node?
- Why Run a Bitcoin Node at Home?
- What You Need: Hardware Options Compared
- Software Options Compared: Umbrel vs Start9 vs RaspiBlitz
- Umbrel: Best for Beginners
- Start9: Best for Privacy Purists
- RaspiBlitz and Plain Bitcoin Core
- A Quick Note on Bitcoin Knots
- Step-by-Step: How to Run a Bitcoin Node at Home
- Step 1: Assemble the Hardware
- Step 2: Flash umbrelOS
- Step 3: Install the Bitcoin Node App
- Step 4: Wait for the Initial Sync
- Step 5: Verify Your Node Is Working
- How Long Does the First Sync Really Take?
- What Does It Cost to Run a Bitcoin Node?
- After the Sync: 5 Things to Do With Your Node
- 1. Run a Lightning Node
- 2. Connect Your Desktop Wallet
- 3. Run Your Own Block Explorer
- 4. Enable Tor Remote Access
- 5. Keep It Updated
- Common Mistakes to Avoid
- Security Tips for Your Home Node
- Frequently Asked Questions
- How much does it cost to run a Bitcoin node at home?
- Do I get paid for running a Bitcoin node?
- How much internet data does a Bitcoin node use?
- Can I run a Bitcoin node on Wi-Fi?
- How long does the initial blockchain sync take?
- Is it legal to run a Bitcoin node?
- Do I need a static IP address or an open port?
- Conclusion
This guide shows you exactly how to run a Bitcoin node at home in 2026. You will learn what a node is, why it improves your privacy and security, which hardware to buy, how much it costs, and the exact steps to get one running. No advanced Linux skills are needed.
Key Takeaways
- A Bitcoin node verifies your own transactions and keeps your wallet activity private.
- A Raspberry Pi 5 with 8 GB RAM and a 1 to 2 TB SSD is the cheapest solid setup, about $250 to $350 total.
- Umbrel and Start9 are one-click options that remove almost all the hard work.
- The first sync takes 1 to 2 days on a Pi 5 with an SSD. After that, the node runs on its own.
- Running a node earns you no coins, but it gives you real financial sovereignty.
What Is a Bitcoin Node?
A Bitcoin node is a computer that runs Bitcoin software and follows the network’s rules. It keeps a full copy of the blockchain, which is the public record of every Bitcoin transaction ever made, and it checks every new block and transaction against those rules. If a transaction breaks a rule, the node rejects it.
Bitcoin has had nodes running since the 2009 genesis block, and the network only stays honest because thousands of independent nodes all check the same rules. If you want a refresher on the basics, start with our beginner guide to what Bitcoin is before you continue.
Full Node vs. Light Wallet
Most wallet apps on your phone are light wallets. They do not download the blockchain. Instead, they ask someone else’s server for your balance and transaction history.

That server learns your IP address and which addresses are yours, which is a privacy problem.
A full node downloads and checks everything itself. When your wallet connects to your own node, nobody else sees your financial activity. That is the single biggest reason to run one.
A Node Is Not a Miner
Nodes and miners do different jobs. Miners compete to add new blocks and earn new coins. Nodes only verify that blocks follow the rules.
Running a node earns you no block rewards, and you do not need expensive mining hardware. Any small home computer can be a node.
Why Run a Bitcoin Node at Home?
There are three real reasons: security, privacy, and independence. A node lets you verify your own payments instead of trusting a third party. It keeps your transaction history away from corporate servers.
And it lets you enforce Bitcoin’s rules yourself, which is the whole point of a decentralized money.
There is also a quiet fourth reason: it makes you a better Bitcoiner. Once you watch your own node sync and validate blocks, concepts like confirmations, fees, and the mempool stop being abstract. They become things your own machine does every ten minutes.
Verify Your Own Transactions
When someone sends you bitcoin, your wallet should prove the coins are real and not spent twice. With a light wallet, you trust the wallet company’s server to do that check honestly. With your own node, your machine checks the proof itself against the full history.
Nobody can trick you into accepting an invalid payment.
Real Privacy, Not Promises
Light wallets share your addresses with the servers they query. Those servers can log your IP address, link your addresses together, and build a picture of your holdings. When your wallet talks only to your home node, your queries never leave your house.
Your financial data stays yours.
Help the Network Stay Decentralized
Every extra independent node makes Bitcoin harder to censor and harder to change. If you leave port 8333 open on your router, your node also shares blocks with new nodes joining the network, which helps the whole system. This part is optional, but it is how home node runners give back.
What You Need: Hardware Options Compared
The good news is that running a node is not demanding. The constraints are storage size and disk speed, not raw computing power. As Blockstream’s official node guide explains, a recent laptop, a Mac, or a Raspberry Pi 5 all work.
The key rules are: use an SSD, get at least 8 GB of RAM, and buy more storage than you think you need.
The Bitcoin blockchain is roughly 745 GB as of mid 2026, and it grows about 50 to 80 GB per year. A 1 TB SSD is the practical minimum today, but a 2 TB SSD is the smarter buy because it gives you years of headroom plus room for apps like a Lightning node.
| Option | Hardware | Skill Level | Approx. Cost | Best For |
|---|---|---|---|---|
| Raspberry Pi 5 DIY | Pi 5 8 GB, 2 TB SSD, 27 W PSU, case, Ethernet | Beginner | $250 to $350 | Cheapest reliable setup |
| Umbrel Home | Intel quad-core, 16 GB RAM, 2 TB NVMe, 10 W | Total beginner | $699 | Plug and play, zero assembly |
| Start9 Server One (2026) | Ryzen 5 6600H, 16 or 32 GB RAM, 2 or 4 TB NVMe | Beginner | ~$1,000 | Privacy-first, Tor-native power users |
| Spare PC or mini PC | Any x86 machine, 8 GB RAM, 1 TB SSD | Comfortable | $0 to $300 | Reusing hardware you own |
The Raspberry Pi 5 Shopping List
The Pi 5 is the sweet spot for most people. It is cheap, silent, and sips power. Buy the 8 GB model, because 4 GB is tight once you add a Lightning node.
You also need the official 27 W USB-C power supply, a case with a fan or heatsink, a 1 or 2 TB SSD, and an Ethernet cable.
Do not use a spinning hard drive. Validating blocks involves constant random reads and writes, and a hard drive turns a 2-day sync into a 3-week sync. A microSD card is fine for the operating system on some setups, but the blockchain itself must live on the SSD.
The official power supply matters too. A weak phone charger causes random crashes under load.
Why 2 TB Is the Smarter Buy
The chain grows every year, and node apps need extra space. Lightning channel data, the Electrum server index, and the mempool explorer each add gigabytes. A 1 TB drive works today, but you will likely replace it within a couple of years.
A 2 TB SSD costs only a little more and buys you a decade of headroom.
Software Options Compared: Umbrel vs Start9 vs RaspiBlitz
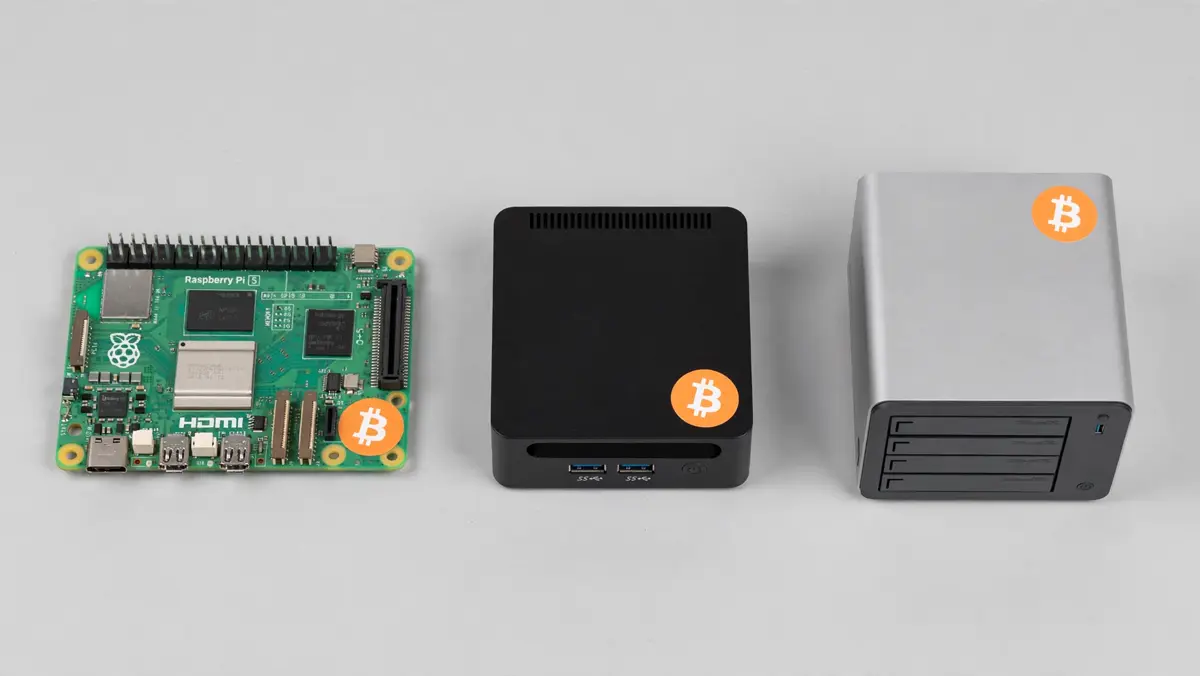
You do not need to install Bitcoin Core by hand unless you want to. Three free node operating systems do the hard work for you, and all of them are recommended by Blockstream’s official node guide. Pick the one that matches your comfort level.
Umbrel is the easiest. You flash umbrelOS, open a web page, and install the Bitcoin Node app with one click. The new umbrelOS 2.0, released in September 2026, runs on Raspberry Pi, mini PCs, and NAS devices, and it is free for personal use.
Start9’s StartOS is the privacy maximalist choice. It is fully open source, routes everything through Tor by default, and offers both Bitcoin Core and Bitcoin Knots in its marketplace.
RaspiBlitz is the DIY hacker’s option. It is free and open source, runs great on a Pi, but expects you to be comfortable with a terminal for some steps.
Umbrel: Best for Beginners
Umbrel wins on simplicity. The dashboard looks like a phone home screen, apps install in one click, and the Bitcoin Node app handles syncing, updates, and Tor connections automatically. If you buy the $699 Umbrel Home, there is nothing to assemble at all.
You plug it into your router and open a web page. The tradeoff is that umbrelOS is not fully open source, which bothers some purists.
Start9: Best for Privacy Purists
Start9’s StartOS is built around the idea that your server should never phone home. Every service gets a Tor address, the software is open source, and the marketplace includes Bitcoin Core, Bitcoin Knots, Lightning implementations, BTCPay Server, and a private mempool explorer. The 2026 Server One hardware is powerful enough to run a node plus many other self-hosted services.
It costs more, but you get a serious home server, not just a node.
RaspiBlitz and Plain Bitcoin Core
RaspiBlitz is a free community project that turns a Raspberry Pi into a full Bitcoin and Lightning node. It is powerful and completely open, but the setup asks more of you than Umbrel or Start9. Running Bitcoin Core directly on your own computer is also fine.
It is the reference software most nodes use, it is free from bitcoin.org, and it needs no special hardware. But you manage updates and configuration yourself.
A Quick Note on Bitcoin Knots
You will see Bitcoin Knots offered next to Bitcoin Core in Umbrel and Start9. Knots is a fork of Core with extra features and different mempool policies, and it follows the same consensus rules. For a first node, stick with Bitcoin Core.
It is the reference implementation that the vast majority of the network runs, so it has the smoothest compatibility with every app.
Step-by-Step: How to Run a Bitcoin Node at Home
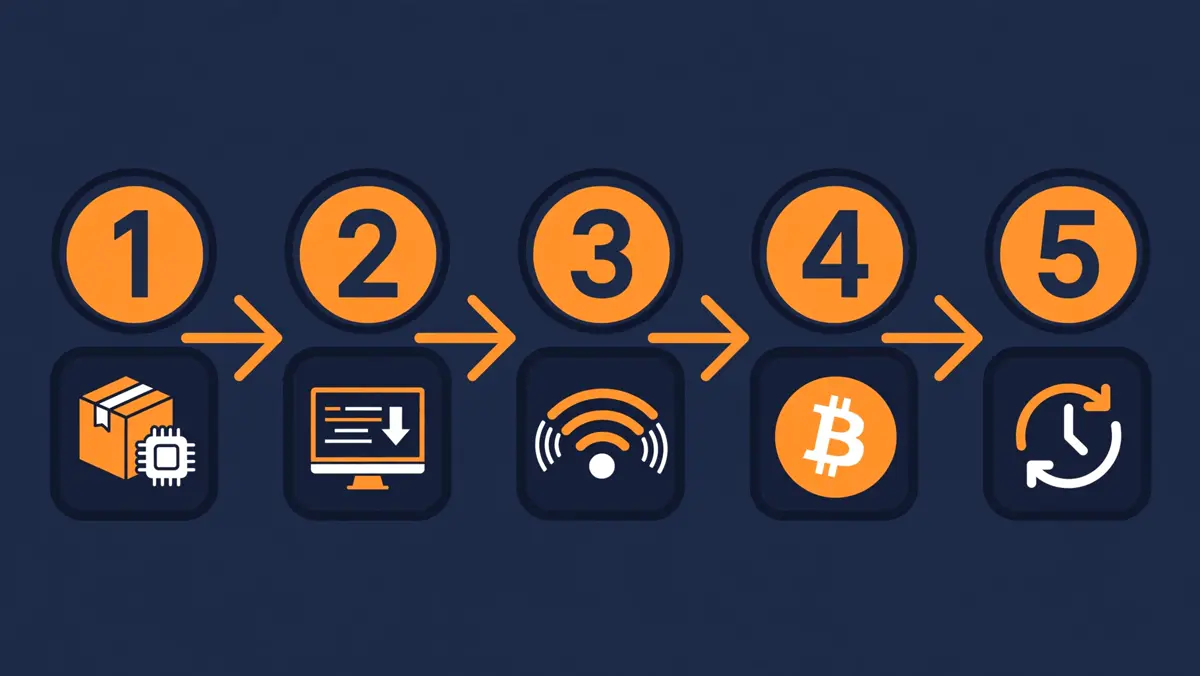
This walkthrough uses a Raspberry Pi 5 with Umbrel, because it is the cheapest path a total beginner can finish in a weekend. The steps are nearly identical for Start9, and the concepts apply to every option. Set aside about an hour of active work, plus a few days of waiting while the blockchain syncs.
Before you start, back up anything important. Flashing an OS erases the drive you flash it to, and you will write down passwords and recovery words during setup. If you hold bitcoin already, make sure you have backed up your Bitcoin seed phrase safely first.
Step 1: Assemble the Hardware
Put the Pi 5 in its case, attach the fan or heatsink, and connect the SSD with a USB 3 cable. Plug the Ethernet cable from the Pi into your router. Use a wired connection, not Wi-Fi.
Syncing hundreds of gigabytes over Wi-Fi is slower and less stable, and a wired node stays connected 24/7.
Finally, connect the official 27 W power supply. Do not power the Pi from a random phone charger. An underpowered Pi crashes exactly when the CPU works hardest, which is during the initial sync.
Step 2: Flash umbrelOS
On your normal computer, download umbrelOS from umbrel.com and flash it to a microSD card with the free Balena Etcher tool. Insert the card into the Pi and power it on. After about five minutes, open a browser on the same home network and go to http://umbrel.local.
If that address does not load, find the Pi’s IP address in your router’s device list and use that instead.
Step 3: Install the Bitcoin Node App
Create your Umbrel account and write down the password. Then open the Umbrel App Store and install the Bitcoin Node app with one click. The app downloads Bitcoin Core and starts syncing automatically.
You can also install useful companions now or later: the mempool app for a private block explorer, and Electrs if you want to connect a desktop wallet.
Step 4: Wait for the Initial Sync
This is the long part. Your node downloads every block since 2009 and checks each one, a process called the initial block download. On a Pi 5 with a good SSD, it takes about 1 to 2 days.
On a Pi 4 with a slow drive, community reports show it can take 2 to 3 weeks, which is another reason the Pi 5 and an SSD matter.
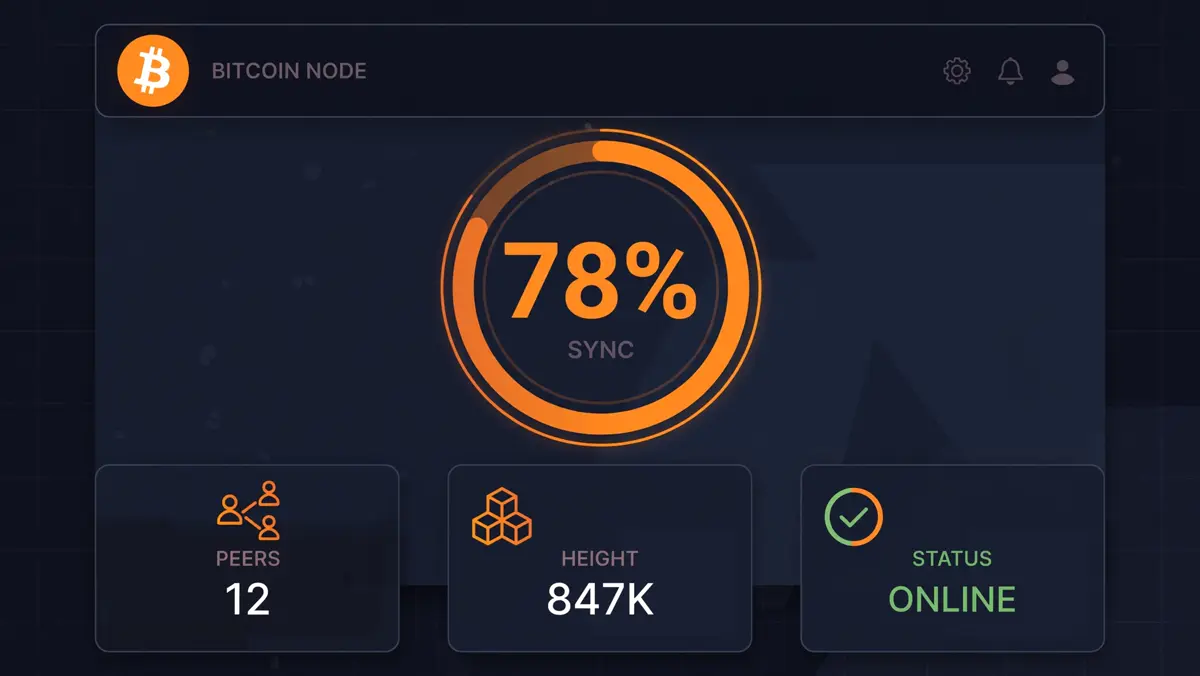
Leave the Pi powered on and connected. You can close your browser and check progress later. The dashboard shows a percentage and the current block height, so you can watch it climb toward the tip of the chain.
Step 5: Verify Your Node Is Working
When the dashboard says 100 percent synced, your node is live. Open the mempool app and check that its block height matches a public explorer within a block or two. Send a small test transaction to a wallet connected to your node and watch it appear.
Congratulations. You are now verifying Bitcoin’s rules yourself.
How Long Does the First Sync Really Take?
Sync time depends almost entirely on disk speed and CPU. Bitcoin Core must validate hundreds of gigabytes of history, and the bottleneck is random read and write speed against the database of unspent coins. That is why an SSD is not optional.
It is the whole game.
Real-world numbers help set expectations. Jameson Lopp’s 2025 node performance tests measured a full validation sync in about 12 hours on a 2018 desktop with an NVMe drive. With default settings, which skip re-checking signatures on very old blocks, it is roughly 50 to 70 percent faster.
A Raspberry Pi 5 with a fast SSD typically finishes in 1 to 2 days. A Raspberry Pi 4 with a hard drive can take weeks.
Pruned vs. Full: What Is the Difference?
A full archival node keeps the entire blockchain, currently around 745 GB. A pruned node throws away old block data after validating it and keeps only about 15 GB plus the set of unspent coins. Pruning is great if disk space is tight, and your node still validates everything.
Two catches. First, even a pruned node downloads the whole chain once during the initial sync, so pruning does not make the first download faster. Second, a pruned node cannot serve old blocks to other new nodes, so it contributes less to the network.
If you can afford the disk space, run a full node.
What Does It Cost to Run a Bitcoin Node?
The total cost has three parts: hardware, electricity, and internet. Hardware is the big one, and it is a one-time purchase. A Raspberry Pi 5 kit with 8 GB RAM, a 2 TB SSD, case, and official power supply costs about $250 to $350.
An Umbrel Home is $699 with everything included. A Start9 Server One 2026 is listed around $1,000 in Europe. A spare old laptop costs you nothing.
Electricity is almost free. A Pi 5 draws roughly 5 to 15 watts, and the Umbrel Home draws about 10 watts. At typical electricity prices, that is a few dollars per year.
Running a node 24/7 costs less than leaving a light bulb on.
Internet and Bandwidth
The initial sync downloads several hundred gigabytes once. After that, a listening node uses roughly 100 to 200 GB of upload bandwidth per month serving blocks to peers, plus a smaller amount of download for new blocks. Most home broadband plans handle this fine, but check your data cap if you have one.
Bitcoin Core also lets you cap upload bandwidth in its settings if needed.
Do You Earn Anything?
No. Running a node earns no bitcoin, no fees, and no rewards. Miners earn the rewards.
A node is a cost you pay for privacy, security, and independence. Think of it like running your own email server instead of using Gmail. You do it for control, not income.
After the Sync: 5 Things to Do With Your Node
A synced node is just the start. The real payoff comes from connecting your daily tools to it. Here are the five most useful upgrades, in order.
1. Run a Lightning Node
Install LND or Core Lightning from your node app store to join the Lightning Network. You can send and receive instant, near-free payments. Start small, open one or two channels to well-connected nodes, and back up your channel state.
Lightning funds need their database backed up, not just a seed phrase, or you can lose money if the drive dies. If Lightning is new to you, read our roundup of beginner Lightning wallets first.
2. Connect Your Desktop Wallet
Point Sparrow Wallet at your node through the Electrum server app, and every balance check and transaction goes through your own machine. Our Sparrow wallet setup guide walks through the whole process, including connecting to your own node for maximum privacy. This single change removes the biggest privacy leak most Bitcoin users have.
3. Run Your Own Block Explorer
The mempool app gives you a private copy of the popular mempool.space explorer. You can check fees, watch transactions confirm, and explore blocks without telling a public website what you are looking at. It runs entirely on your node.
4. Enable Tor Remote Access
Umbrel and Start9 give your node a Tor onion address, which lets you reach your node securely from your phone when you are away from home. No port forwarding, no dynamic DNS, no exposing your home IP. Start9 is Tor-native by design, and Umbrel enables Tor for its services by default.
5. Keep It Updated
Node software gets security updates a few times a year. Umbrel and Start9 show update badges in the dashboard, and installing them takes one click plus a restart. Outdated nodes can fall out of consensus during network upgrades, so treat updates like oil changes: boring, quick, and non-negotiable.
Common Mistakes to Avoid
Most failed node projects fail for the same few reasons, and all of them are avoidable. Learn from other people’s dead Pis.
Using a Hard Drive or a Weak Power Supply
These are the top two killers. A spinning hard drive makes syncing take weeks and can corrupt the database under load. A cheap phone charger browns out the Pi during heavy validation and corrupts data.
Buy the SSD and the official power supply. They are the cheapest parts of the build.
Running on Wi-Fi
Wi-Fi drops, reconnects, and adds latency. A node that keeps disconnecting syncs slowly and serves peers poorly. Run one Ethernet cable to your router.
It is the single most boring and most effective upgrade you can make.
Skipping Backups
Your node’s wallet seed, your Lightning channel backups, and your Umbrel or Start9 password all need safe copies. A dead SSD should be an annoyance, not a disaster. Write seeds on paper or steel, store copies in two places, and test that you can restore before you put serious money behind the node.
Our ranking of non-custodial wallets also covers backup best practices worth borrowing.
Expecting Profit
A node is infrastructure, not an investment. If you want yield, a node will disappoint you. If you want to stop asking permission to use your money, it will delight you.
Set the right expectation on day one.
Security Tips for Your Home Node
A home node is a small server on your network, so treat it like one. Use a strong, unique password for the dashboard and enable two-factor authentication where offered. Keep the node software updated.
Do not install random apps from outside the official app store, and never share your node’s Tor address or admin login publicly.
Keep your bitcoin spending wallet separate from large savings. A node pairs beautifully with a hardware wallet for cold storage. The node verifies, the hardware wallet signs, and neither one trusts a third party.
If you want the full history of the network your node is now part of, our Bitcoin history guide covers the journey from the 2009 genesis block to today.
Frequently Asked Questions
How much does it cost to run a Bitcoin node at home?
A Raspberry Pi 5 setup with a 2 TB SSD costs about $250 to $350 one time. An Umbrel Home costs $699, and a Start9 Server One 2026 is around $1,000. Electricity is only a few dollars per year because a Pi draws about 5 to 15 watts.
There are no monthly fees.
Do I get paid for running a Bitcoin node?
No. Nodes earn no bitcoin and no fees. Only miners earn block rewards.
People run nodes for privacy, security, and independence, not income.
How much internet data does a Bitcoin node use?
The first sync downloads several hundred gigabytes once. After that, expect roughly 100 to 200 GB of upload per month if your node accepts incoming connections, plus a smaller steady download for new blocks. Most unlimited home broadband plans handle this easily.
Can I run a Bitcoin node on Wi-Fi?
You can, but you should not. Wi-Fi is slower and less stable than Ethernet, which stretches the initial sync and makes your node a worse peer. Plug the node directly into your router with an Ethernet cable.
How long does the initial blockchain sync take?
On a Raspberry Pi 5 with a fast SSD, about 1 to 2 days. On a modern desktop with an NVMe drive, under a day. On a Pi 4 with a slow drive, it can take 2 to 3 weeks.
Disk speed matters more than anything else.
Is it legal to run a Bitcoin node?
In most countries, yes. Running a node is just running software that verifies public data. A few countries restrict Bitcoin activity, so check your local rules.
This guide is not legal advice.
Do I need a static IP address or an open port?
No. Your node works fine behind a normal home router with no changes. Opening port 8333 is optional.
It lets other nodes connect to you, which helps the network, but your node verifies and serves your wallets perfectly well without it.
Conclusion
Learning how to run a Bitcoin node at home is one of the highest-value projects in Bitcoin. For a few hundred dollars and a weekend of waiting, you get something no exchange or wallet company can sell you: the ability to check Bitcoin’s rules yourself, in your own home, with your own hardware.
Start simple. A Raspberry Pi 5 with Umbrel gets most people running with minimal fuss. Sync the chain, connect your wallet, and try the Lightning apps when you feel ready.
Your node will quietly verify every block while you get on with your life, and that quiet independence is the entire point.
Your next step: order the Pi 5 kit and SSD this week, flash umbrelOS this weekend, and let the sync run while you read our guide to storing your Bitcoin safely to prepare for connecting your wallet to your own node.
Your own explorer is also the most private way to check a payment. You can track a Bitcoin transaction with a TXID lookup on it and read its confirmations, fee and outputs without telling a public site which payment is yours.