



BTCPay Server is free, open-source software that lets you accept Bitcoin payments on your own server. You pay zero processing fees, you skip KYC, and no company can freeze your money. To set it up, you need a VPS running Ubuntu, a domain name, and about an hour of command-line work, plus one to three days for your Bitcoin node to finish syncing. This guide walks you through every step, from server to your first live invoice.
- BTCPay Server charges 0% processing fees. You only pay for your VPS (about $5 to $30 a month) and normal Bitcoin network fees.
- It is fully self-hosted and non-custodial. Payments go straight to a wallet you control, so no processor can block or freeze your funds.
- Official minimum requirements: a VPS with 2 GB RAM, 80 GB of storage with pruning enabled, Docker, and a domain name with DNS pointed at your server.
- Plan for a 24 to 72 hour wait while the Bitcoin node syncs. Everything else takes under an hour.
- You do not need to sign up for anything or verify your identity. The software is free and MIT licensed.

What Is BTCPay Server?
BTCPay Server is a self-hosted, open-source payment processor for Bitcoin and Lightning payments. Think of it as your own private Stripe for Bitcoin, running on hardware you control. It creates invoices, generates a fresh payment address for every order, and tracks each payment in real time.
- What Is BTCPay Server?
- What You Need Before You Start
- How to Set Up BTCPay Server, Step by Step
- Step 1: Prepare Your VPS
- Step 2: Confirm Your Domain Resolves
- Step 3: Install BTCPay Server With Docker
- Step 4: Wait for the Bitcoin Node to Sync
- Step 5: Create Your Admin Account
- Create Your Store and Connect a Wallet
- Start Accepting Payments
- Security Best Practices
- Common Mistakes to Avoid
- Frequently Asked Questions
- Is BTCPay Server really free?
- How long does it take to set up BTCPay Server?
- Do I need to know how to code?
- Can BTCPay Server work with my Shopify or WooCommerce store?
- Is BTCPay Server safe to use?
- The Bottom Line
The project is community run and backed by the non-profit BTCPay Server Foundation, which keeps the software free forever. Anyone can read the code on GitHub, audit it, or run it without asking permission.
It comes with built-in tools most merchants need: invoicing, a point-of-sale app for physical shops, payment buttons you can embed on any website, a crowdfunding app, and plugins for WooCommerce, Shopify, and other platforms.
Why Merchants Choose BTCPay Server Over BitPay and Coinbase Commerce
The biggest reason is money. Custodial processors take a cut of every sale, while BTCPay Server takes nothing. Here is how the main options compare in 2026.
| Feature | BitPay | Coinbase Commerce | BTCPay Server |
|---|---|---|---|
| Processing fee | 1% to 2% + $0.25 per transaction | 1% per transaction | 0% (software is free) |
| Monthly cost | $0 | $0 | VPS hosting only, about $5 to $30 |
| KYC required | Yes | Yes | No |
| Who holds the funds | BitPay | Coinbase | You, in your own wallet |
| Account freeze risk | Yes, at their discretion | Yes, at their discretion | Impossible, you run the server |
| Bitcoin support | Yes | Yes | Yes, plus Lightning |
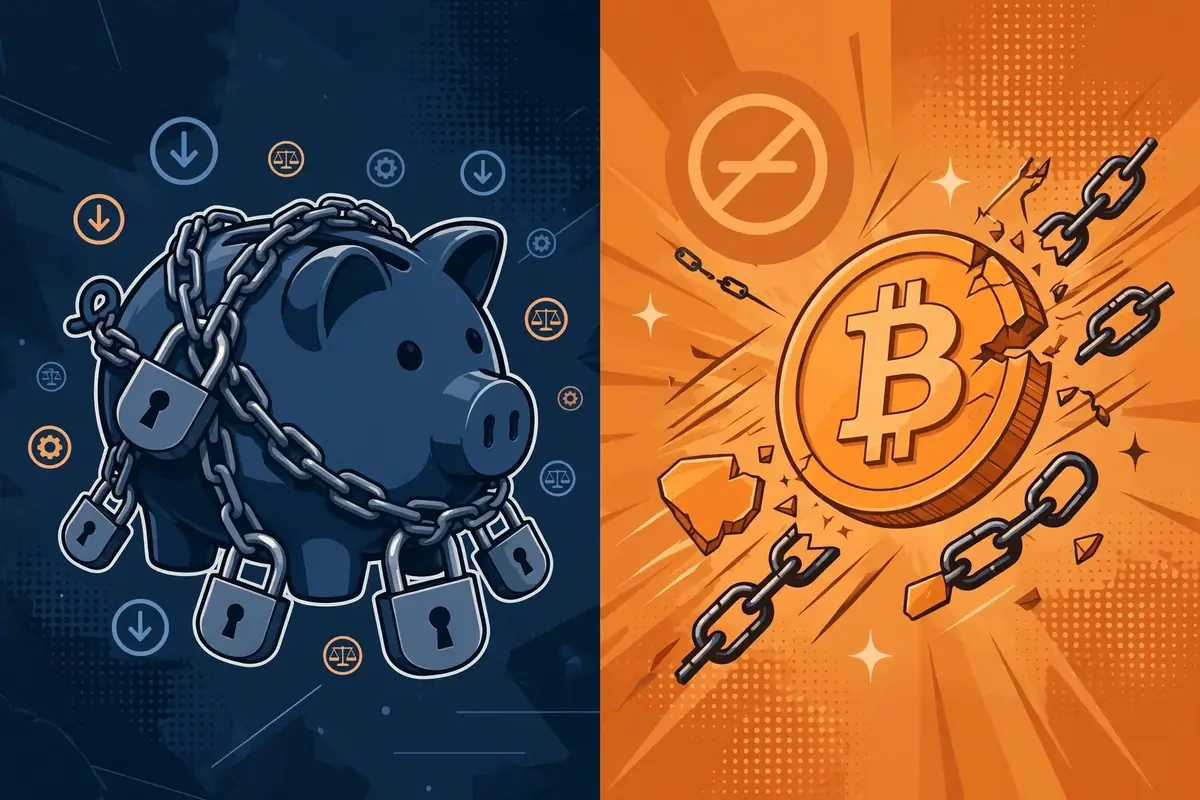

On $10,000 of monthly sales, a 1% fee costs you $1,200 a year. BTCPay Server gives you that money back, in exchange for running one small server. For a deeper comparison of fee structures across the industry, the breakdown of crypto payment gateway fees for 2026 shows BTCPay Server as the only major option at a true 0%.
There is a trade-off. With BitPay or Coinbase Commerce, someone else handles the servers, security patches, and uptime. With BTCPay Server, that job is yours. If you sell on Shopify and want the fastest path to live Bitcoin checkout without running a server, our guide on how to accept Bitcoin payments on Shopify covers that route.
What You Need Before You Start
Gather these three things before you touch the terminal. Each one is cheap and takes minutes to arrange.
Server and Software Requirements
Per the official BTCPay Server deployment FAQ, the minimum for a Bitcoin and Lightning setup is 2 GB of RAM and 80 GB of storage with pruning enabled, plus Docker. In practice, most guides recommend a VPS with at least 2 CPU cores, 4 GB of RAM, and an SSD, running Ubuntu 22.04 or newer. You need SSH access to the machine.
Your BTCPay install runs a full Bitcoin node, the same kind of software covered in our Bitcoin node at home guide. That node needs ports 80 and 443 open for the web interface and HTTPS, plus port 9735 if you plan to run Lightning.
A Domain Name With DNS Pointed at Your Server
You need a real domain name, for example pay.yourstore.com. In your DNS provider’s dashboard, create an A record that points the domain (or subdomain) to your VPS IP address. BTCPay Server uses that domain to fetch a free SSL certificate from Let’s Encrypt automatically.
Verify the DNS has propagated with a tool like WhatsMyDNS before you run the installer. If the domain does not resolve to your server, the certificate step will fail.
How to Set Up BTCPay Server, Step by Step
Follow these steps in order. Do not skip the sync wait in step 4, because your server cannot verify payments until the node is fully synced.
Step 1: Prepare Your VPS
Connect to your server with SSH and update the system packages:
sudo apt update && sudo apt upgrade -y
sudo apt install git curl docker.io docker-compose-plugin -y
sudo systemctl enable docker
This installs Git for cloning the deployment files and Docker for running all of BTCPay’s services in containers.
Step 2: Confirm Your Domain Resolves
Before going further, double check that your domain points to the server. From your local machine, run dig pay.yourstore.com (replace with your domain) and confirm the answer section shows your VPS IP. If it shows an old IP or nothing, wait for DNS propagation and try again.
Step 3: Install BTCPay Server With Docker
BTCPay Server ships an official deployment script that does the heavy lifting. Clone the repository and set your environment variables:
mkdir btcpayserver && cd btcpayserver
git clone https://github.com/btcpayserver/btcpayserver-docker
cd btcpayserver-docker
Now configure what gets installed. Replace the domain with your own:
export BTCPAY_HOST="pay.yourstore.com"
export NBITCOIN_NETWORK="mainnet"
export BTCPAYGEN_CRYPTO1="btc"
export BTCPAYGEN_REVERSEPROXY="nginx"
export BTCPAYGEN_LIGHTNING="clightning"
What each line means: BTCPAY_HOST is your domain, used for the web interface and the SSL certificate. NBITCOIN_NETWORK set to mainnet means real money; use testnet only for practice. BTCPAYGEN_CRYPTO1 enables Bitcoin. BTCPAYGEN_REVERSEPROXY set to nginx handles HTTPS. BTCPAYGEN_LIGHTNING adds a Lightning node; leave this line out entirely if you want on-chain payments only.
If your VPS is tight on disk, add export BTCPAYGEN_ADDITIONAL_FRAGMENTS="opt-save-storage-s" to run the node in pruned mode. Then run the installer:
. ./btcpay-setup.sh -iThe script installs Docker if needed, downloads the containers, configures nginx, requests your Let’s Encrypt certificate, and launches Bitcoin Core, NBXplorer, and BTCPay Server. Setup usually takes 10 to 30 minutes depending on your server. The script is safe to run again if something goes wrong.
Step 4: Wait for the Bitcoin Node to Sync
This is the patience step. Your server is downloading and verifying the entire Bitcoin blockchain, which is several hundred gigabytes of data. On a modest VPS, full sync typically takes 24 to 72 hours.
You can watch the progress at your BTCPay URL, for example https://pay.yourstore.com. The dashboard shows the sync status. The official docs also describe a FastSync option that can shorten this wait, and pruned mode reduces how much disk the node keeps.
If you prefer a visual walkthrough of the deployment, the official web-wizard video below covers the same process:
Step 5: Create Your Admin Account
Once the server is up, visit your domain in a browser. The first screen asks you to register the admin account. Fill in an email and a strong password, then log in. You are now inside your own payment processor.
Create Your Store and Connect a Wallet
The server is running. Now tell it what to sell and where the money should go.
Create Your First Store
After registering, BTCPay Server sends you straight to the store creation page. Enter a store name, pick your default display currency (for example USD), and choose a price source such as Kraken for USD. Click Create. You can run unlimited stores on one server, each with its own wallet.
This video shows the full merchant setup flow, from store creation to wallet linking and pay buttons:
Connect a Bitcoin Wallet
Go to Wallets, then Bitcoin, and click Set up wallet. You have two safe choices. You can connect an existing wallet by importing its extended public key (xpub), which lets BTCPay generate fresh addresses without ever seeing your private keys. Or you can generate a brand new wallet inside BTCPay.
The xpub route is the professional choice. Your private keys stay on your hardware wallet or offline machine, while the server only gets the public key it needs to watch for payments. If you are new to self-custody wallets, read our guide on how to use Sparrow Wallet first, and our complete Bitcoin wallet guide for 2026 explains the basics from scratch.
If BTCPay generates the wallet for you, back up the seed phrase immediately, on paper, stored somewhere safe. Anyone with that seed can spend your funds, and no support team can recover it for you.
Enable Lightning Payments (Optional)
If you included a Lightning implementation in step 3, go to Wallets, then Lightning, and connect your internal node. Lightning gives your customers near-instant, near-free payments, which is a real advantage for small purchases. Our guide to the best Bitcoin Lightning wallet for beginners helps your customers pick a wallet on their side too.
Start Accepting Payments
With the store and wallet connected, you have three ways to take money.
Create Invoices and Payment Buttons
Under Payments, you can create invoices manually and send the payment link to anyone, anywhere in the world. For a website, go to Payment Buttons, design a button, and paste the generated HTML snippet into your site. Customers who click it land on your branded checkout page with a QR code.
The Point of Sale app works for physical shops: open it on a tablet, type the amount, and the customer scans the QR code at the counter. The Crowdfunding app runs donation or fundraising campaigns the same way.
Connect Your Online Store
BTCPay Server ships official plugins for the major e-commerce platforms. For WooCommerce, install the free BTCPay for WooCommerce plugin, enter your server URL, and authorize it with an API key from your BTCPay store. For Shopify and others, check the integrations list in the official docs. Orders then create BTCPay invoices automatically, and payment status syncs back to your store.
Security Best Practices
You are your own bank now, so act like one. Keep your server updated with regular apt update runs, and update BTCPay itself through the Server Settings page when new versions appear. Restrict SSH access with key-based login instead of passwords, and keep a firewall allowing only ports 80, 443, and 9735.
Back up two things separately: your wallet seed phrase (offline, on paper or steel) and your server data (the BTCPay data directory and, if you run Lightning, your channel state). Test your restore process with a small amount before you route real revenue through the server. Our guide on how to store Bitcoin safely covers hot versus cold wallet habits that apply here too.
Common Mistakes to Avoid
First, running the installer before DNS propagates. If your domain does not resolve to the server, Let’s Encrypt cannot issue the certificate and the install breaks. Verify DNS first, every time.
Second, accepting payments before the node finishes syncing. Unconfirmed payments can be misreported on a node that is still catching up. Wait for 100% sync.
Third, generating a wallet in BTCPay and never writing down the seed. A server crash without a seed backup means the money is gone. Back up before your first real payment.
Fourth, skipping Lightning. On-chain fees make small payments expensive during busy periods. Lightning costs almost nothing to run and your customers will notice the speed.
Frequently Asked Questions
Before you deploy, here are the answers to the questions every store owner asks about BTCPay Server. They cover cost, time, skill level, compatibility, and security.
If your question is not here, the official BTCPay Server documentation and the community support channels have detailed answers for nearly every setup scenario.
Is BTCPay Server really free?
Yes. The software is free and MIT licensed, and it charges zero processing fees. Your real costs are the VPS (about $5 to $30 a month), the domain name, and normal Bitcoin network fees on each transaction. Community-funded through the BTCPay Server Foundation, it has no paid tiers or locked features.
How long does it take to set up BTCPay Server?
The commands take 30 to 60 minutes for someone comfortable with a Linux terminal. The long wait is the Bitcoin node sync, which takes 24 to 72 hours on a typical VPS. Pruned mode and the documented FastSync option can reduce the disk and time needed.
Do I need to know how to code?
No. You need basic comfort with the Linux command line: copying commands, editing environment variables, and connecting over SSH. If that sounds like too much, one-click hosts like LunaNode deploy BTCPay Server for you for a monthly fee, and free third-party BTCPay hosts exist for testing.
Can BTCPay Server work with my Shopify or WooCommerce store?
Yes. Official plugins connect BTCPay Server to WooCommerce, Shopify, Magento, PrestaShop, and more. Invoices are created automatically at checkout, and payment status syncs back to your store orders.
Is BTCPay Server safe to use?
The software itself is non-custodial and open source, which removes the biggest risks of custodial processors: frozen accounts and exit scams. Your safety depends on your own server hygiene: strong passwords, SSH keys, a firewall, regular updates, and offline seed backups. The server never needs your private keys if you connect a watch-only xpub wallet.
The Bottom Line
BTCPay Server turns a $5-a-month VPS into your own private Bitcoin payment processor. You keep 100% of every sale, you answer to no compliance department, and your customers pay you directly with no intermediary in the middle. The setup takes an afternoon of focused work and a few days of syncing, and from then on your checkout is yours.
Next step: pick your VPS and domain today, run the Docker deployment tonight, and let the node sync while you sleep. By the end of the week you can send your first invoice. If you want the full technical reference while you work, the official docs at docs.btcpayserver.org cover every deployment option in detail.