


Sparrow Wallet is a free, open-source Bitcoin wallet for desktop computers. It works on Windows, Mac, and Linux, it never touches your private keys in the cloud, and it costs nothing to use. To learn how to use Sparrow Wallet, you download it from the official site, verify the file, create a new wallet, write down your seed words, and you are ready to receive and send Bitcoin in about fifteen minutes.
My honest opinion, after watching the free wallet space for years: Sparrow is the best free desktop Bitcoin wallet you can run. Not because it is the prettiest, but because it is the only free one that grows with you. It starts simple enough for a beginner and later handles multisig, hardware wallets, and your own node without making you switch apps.

Key takeaways
- Sparrow is free, open source, and Bitcoin-only. It runs on Windows, macOS, and Linux.
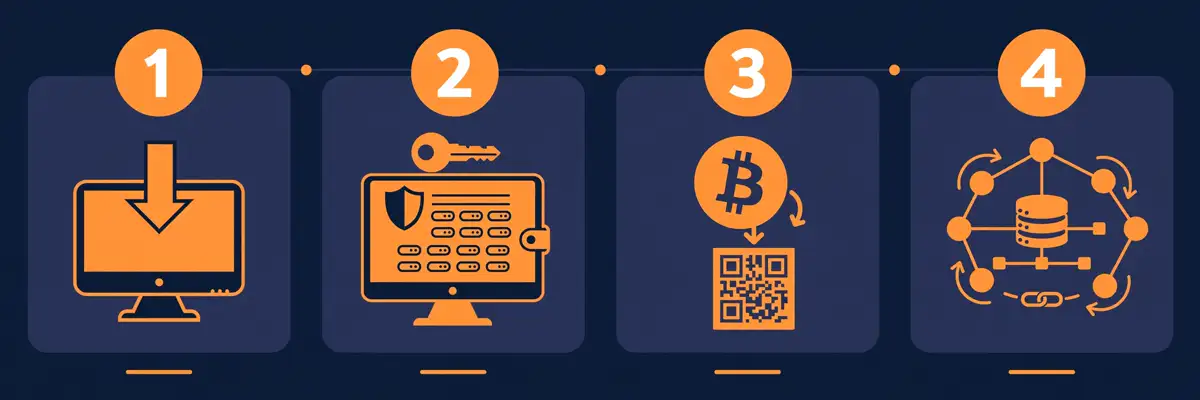
- Setup takes 7 steps: download, verify, create wallet, back up seed words, receive, send, and optionally connect your own node.
- There is NO official Sparrow mobile app. Any Sparrow app on a phone store is a scam.
- Always verify your download and start with a small test transaction before moving real money.
- You can connect Sparrow to your own Bitcoin node later for maximum privacy.
My take: why Sparrow beats every other free desktop wallet
Most free desktop wallets force a tradeoff. You get either a simple app that hides how Bitcoin works, or a powerful app with a screen that looks like a cockpit. Sparrow is the rare one that does both. The default setup is genuinely simple, but underneath sits coin control, a transaction editor that doubles as a block explorer, and support for every major hardware wallet.
- My take: why Sparrow beats every other free desktop wallet
- What you need before you start
- Step 1: Download Sparrow from the official site only
- Step 2: Create your first wallet
- Step 3: Back up your seed words (the most important 10 minutes)
- Step 4: Receive your first Bitcoin
- Step 5: Send Bitcoin and control your fees
- Step 6: Connect Sparrow to your own node (optional, powerful)
- Why your own node matters for privacy
- How to connect: Bitcoin Core, Electrum server, or one-click boxes
- Step 7: Keep Sparrow safe for the long run
- 5 mistakes beginners make with Sparrow
- Frequently asked questions
- Is Sparrow Wallet really free?
- Is Sparrow Wallet safe for beginners?
- Does Sparrow have a mobile app?
- Should I choose Sparrow or Electrum?
- Can I use Sparrow with a hardware wallet?
- The bottom line
It is also one of the few wallets that treats privacy as a journey. You can start on a public server, then later connect your own node or route everything through built-in Tor. The app does not ask for an email, a phone number, or an account. Your keys stay on your machine, full stop.
Here is how it stacks up against the best-known alternatives:
| Feature | Sparrow | Electrum |
|---|---|---|
| Price | Free, open source | Free, open source |
| Coins supported | Bitcoin only | Bitcoin only |
| Platforms | Windows, Mac, Linux | Windows, Mac, Linux, mobile |
| Coin control | Full, visual, easy | Yes, more technical |
| Multisig setup | Excellent guided setup | Supported, less guided |
| Hardware wallets | All major models, USB and airgapped | Most models supported |
| Connect your own node | Yes, Bitcoin Core or Electrum server | Yes, Electrum server |
| Beginner friendliness | High, with room to grow | Medium, dated interface |
Electrum is still a solid wallet, and it earned its reputation over a decade. But Sparrow’s interface is clearer, its multisig flow is friendlier, and it is under far more active development. If you are getting your first Bitcoin wallet, start here. It also lands near the top of our list of the best Bitcoin wallets for beginners for exactly these reasons.
What you need before you start
You need a desktop or laptop computer running Windows, macOS, or Linux. That is the whole hardware list. Sparrow does not run on phones or tablets, and that is by design, not a missing feature.

Set aside about twenty quiet minutes. The actual setup takes less than fifteen, but you do not want to rush the backup part. Grab a pen and paper too. Your seed words are your master key, and paper beats a screenshot every time.
Step 1: Download Sparrow from the official site only
Type sparrowwallet.com into your browser yourself and click Download. Do not trust a Google ad, a YouTube link, or a random forum post for this. The whole point of self-custody is that no one can reverse a mistake, so the download has to be right.
Pick the installer for your operating system: Windows, macOS, or Linux. The file is small and installs like any normal program. As of this writing, the latest release is version 2.5.4, but do not worry about version numbers. Just take whatever the download page offers today.
Windows, Mac, and Linux: what actually differs
Almost nothing. The app looks and works the same on all three. On Windows, you run the .exe installer. On macOS, you drag the app into Applications. On Linux, you get an installer or a package depending on your distro. If you are aware of fake Bitcoin wallets, you already know the real risk here is not the OS. It is downloading from the wrong site.
Verify the download before you install it
This step scares beginners, so here is the simple version: the download page gives you a way to check that the file you got is the exact file the developer published. It uses a signature check, and there is a step-by-step verification guide linked right on the download page.
At minimum, compare the file’s checksum, a long code printed on the download page, with the checksum your computer calculates. If the codes match, the file is genuine. If you are new to this, follow the official Quick Start guide on sparrowwallet.com. It walks you through it plainly.
Warning: Sparrow has NO official mobile app. Scam apps using the Sparrow name have appeared in phone app stores and stolen people’s Bitcoin. The developer has had to publicly warn users about them more than once. Sparrow is desktop-only. If someone sends you a phone version, it is malware.
Step 2: Create your first wallet
Open Sparrow and choose File, then New Wallet. Give the wallet a name you will recognize, like “My Bitcoin” or “Savings”. You will be asked what to do if the wallet already has transactions. Since yours is brand new, skip that option.
Next you choose a policy type and a script type. Policy type is simple: pick Single Signature for your first wallet. That means one key, your key, signs every transaction. Multisig, where two or more keys must approve, is powerful but not a beginner’s first wallet.
Pick a script type: Native SegWit is the right default
For script type, Sparrow offers several options. Native SegWit is the default and the right choice for almost everyone. It gives you addresses that start with bc1q, the lowest fees, and the widest compatibility with exchanges and other wallets.
The other options exist for special cases. Taproot addresses start with bc1p and enable newer features, but some older services still do not support them. Legacy and Nested SegWit are older formats with higher fees. Stick with Native SegWit unless you have a specific reason to change.
12 words or 24 words? Either works
Sparrow lets you generate a seed of 12, 15, 18, 21, or 24 words. These words are your wallet’s master key, generated from the standard BIP39 word list. For a first wallet, 12 words is perfectly fine and easier to back up correctly. 24 words gives more security margin but is harder to write down without a mistake.
Click Generate New, and Sparrow shows your words. This is the most important moment of the whole setup, so slow down. If you are curious how wallets turn random words into Bitcoin addresses, our Bitcoin wallet generators guide explains the mechanics in simple terms.
Step 3: Back up your seed words (the most important 10 minutes)
Write the words down on paper, in order, numbered 1 to 12. Write clearly. Check each word twice against the screen. Sparrow will then ask you to re-enter the words to prove you wrote them down. Only after you confirm the backup does it create the wallet file.
Set a password for the wallet when Sparrow asks. This password encrypts the wallet file on your computer. It is not a backup of your seed. If someone steals your computer, the password slows them down. If you lose your paper backup, no password in the world brings your Bitcoin back.
Where to keep the paper backup
Store the paper somewhere safe and private: a locked drawer, a safe, or with someone you deeply trust in a separate location. Never photograph it, never type it into a notes app, never email it to yourself. A screenshot of your seed is one hacked cloud account away from an empty wallet.
For larger amounts, consider stamping the words into metal. Paper burns and fades. Steel does not. Our guide to 7 proven ways to store Bitcoin covers backup materials in detail.
What NOT to do with your seed words
Never share them with anyone. No support agent, no exchange employee, and no helpful person in a forum will ever need your seed words. Anyone who asks for them is trying to rob you. Also, never type them into a website. Sparrow will never ask you to enter your seed on a web page.
Step 4: Receive your first Bitcoin
Click the Receive tab. Sparrow shows you a fresh Bitcoin address and a QR code. That address is yours to give out. You can label it, for example “First buy from exchange”, so you remember what it was for. Labels are one of Sparrow’s best features: they keep your future self sane.
To get Bitcoin into Sparrow, withdraw from an exchange to this address, or ask a friend to send you some. Paste the address carefully, or scan the QR code. One wrong character means the money goes somewhere you cannot reach.
Get a fresh address every time
Click Get Next Address for every new receive. Reusing one address tells the whole world that all those payments belong to the same person. Fresh addresses are free and unlimited, and Sparrow tracks them all for you. This is one of the easiest privacy wins in Bitcoin.
Start with a small test amount
Send a tiny amount first, wait for it to arrive, then send the rest. This test costs you one small network fee and buys you total confidence that your backup works and your addresses are correct. Every experienced Bitcoiner does this. It is not paranoia, it is procedure.
Step 5: Send Bitcoin and control your fees
Click the Send tab, paste the recipient’s address, and enter the amount. Before you hit send, look at the fee slider. A higher fee means faster confirmation. A lower fee means you wait longer. Sparrow shows you what the network looks like right now, so you can pick a sensible fee instead of guessing.
This is where Sparrow’s transaction editor shines. It shows you exactly what your transaction will look like before it goes out, down to the raw details. For a beginner this is just reassuring. Later, when you learn more, it becomes a learning tool.
Choose which coins to spend: coin control in plain English
Here is the one concept that makes Sparrow special. Your Bitcoin balance is not one pile of money. It is a set of separate chunks, called UTXOs, from each payment you received. If you received 0.1 BTC twice, you have two chunks of 0.1, not one pile of 0.2.
Sparrow lets you pick which chunks to spend. Why does that matter? Spending a chunk links it to the payment publicly. Coin control lets you keep your savings chunks separate from your spending chunks. To understand why this matters, it helps to know how Bitcoin actually works under the hood.
Review, sign, and broadcast
Double-check the address and amount, then broadcast. Your transaction goes to the network and usually confirms within ten to sixty minutes depending on the fee you chose. Sparrow’s Transactions tab shows its progress. Once it has a few confirmations, it is settled. Nobody can undo it.
Once you have broadcast a payment, you can follow its confirmations yourself. Learn how to track a Bitcoin transaction on the blockchain with your TXID to see exactly when it settles.
Video: BTC Sessions walks through Sparrow setup, receiving, sending, and recovery in 15 minutes.
Step 6: Connect Sparrow to your own node (optional, powerful)
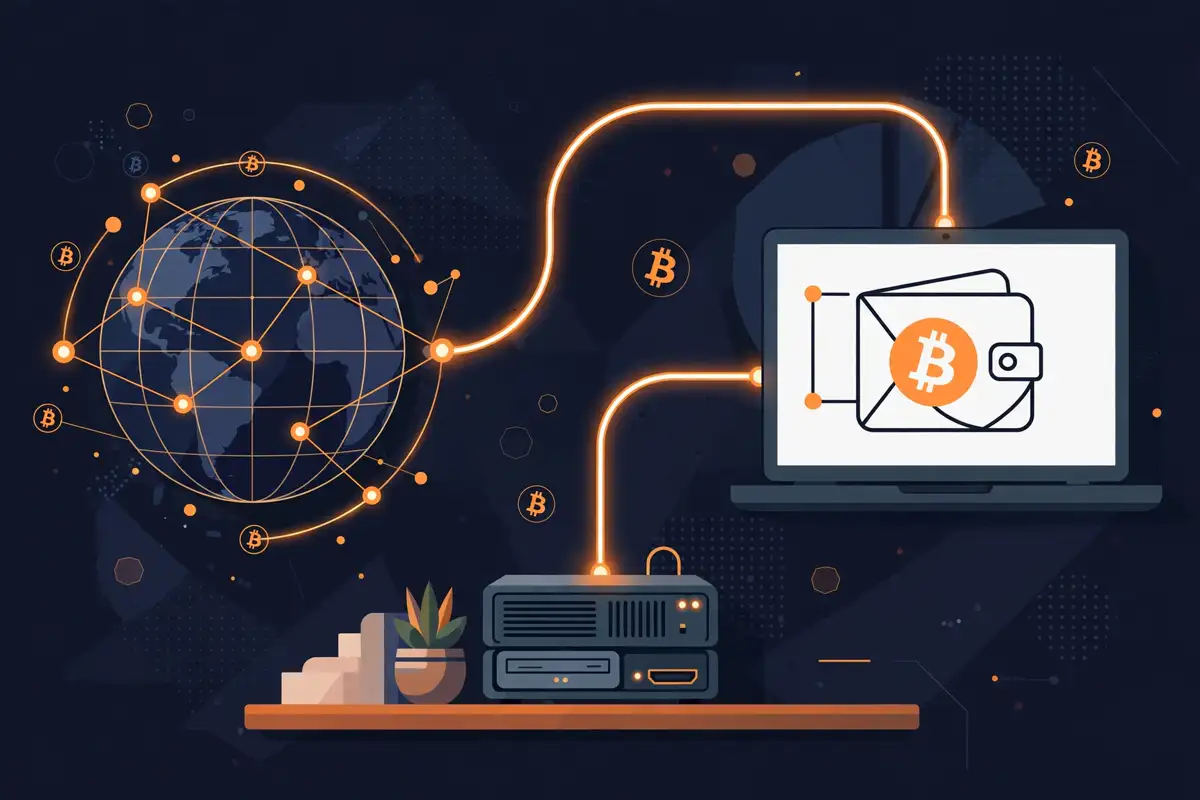
By default, Sparrow talks to a public server to check the blockchain. That works fine, but the server operator can see which addresses you ask about, which leaks information about your wallet. Connecting to your own node fixes that completely.
A Bitcoin node is just a computer that keeps its own full copy of the blockchain and checks every transaction itself. When Sparrow uses your node, nobody else sees your addresses, and you verify everything yourself instead of trusting a stranger’s server. That is what “don’t trust, verify” actually looks like in practice.
Why your own node matters for privacy
With a public server, the operator learns your wallet’s addresses. With your own node, your wallet’s business is your business. You also stop depending on anyone else’s uptime. If every public server disappeared tomorrow, your node keeps working.
You do not need this on day one. Learn the wallet first. But know that this upgrade path exists, because it is one of the main reasons power users pick Sparrow over simpler apps.
How to connect: Bitcoin Core, Electrum server, or one-click boxes
Sparrow gives you three connection choices. You can point it at Bitcoin Core running on your computer, at a private Electrum server on your network, or keep using a public server while you learn. The status bar shows a colored dot for the connection type, so you always know how you are connected.
The easiest path is a plug-and-play node box like Umbrel or Start9, which run the server for you with one click. Then in Sparrow you enter the server’s address in the settings, and the wallet scans your node for your transactions. The first scan takes a while, and the status bar shows the progress. After that, it just works in the background. If you are starting from zero, follow our beginner guide on how to run a Bitcoin node at home.
Step 7: Keep Sparrow safe for the long run
A wallet is only as safe as your habits. Keep your computer’s operating system updated and use a decent antivirus. Do not install Sparrow on a computer you share with strangers or one full of pirated software.
When your stack grows, upgrade your setup instead of your wallet. Pair Sparrow with a hardware wallet like a Coldcard, Trezor, or BitBox, and Sparrow becomes the screen and coordinator while the keys stay on the device. That combination, a hardware wallet plus Sparrow plus your own node, is about as sovereign as Bitcoin gets. It is the difference between a hot wallet and a cold wallet, and it is worth understanding before your balance gets serious.
Video: a complete 2026 walkthrough of downloading, verifying, and setting up Sparrow on Windows.
5 mistakes beginners make with Sparrow
1. Skipping the download verification. The one time you skip it is the one time the file is wrong. Compare the checksum. It takes two minutes.
2. Saving the seed as a screenshot. Your phone backs photos up to the cloud automatically. A cloud photo of your seed is not a backup, it is a liability. Paper or metal, nothing digital.
3. Moving their whole stack on the first try. Always do the small test receive first, then the small test send. Only then move the real amount. Fees are cheap tuition.
4. Reusing one address for everything. It is convenient and it destroys your privacy. Click Get Next Address. That button exists for a reason.
5. Treating the wallet password as a backup. The password protects the file on your computer. The seed words protect your Bitcoin. Lose the password and you can restore from seed. Lose the seed and the password cannot save you.
Frequently asked questions
Is Sparrow Wallet really free?
Yes. Sparrow is free and open source software, released under the Apache 2.0 license by developer Craig Raw. There is no paid version, no premium tier, and no account. You only ever pay normal Bitcoin network fees when you send transactions, and those go to miners, not to Sparrow.
Is Sparrow Wallet safe for beginners?
Yes, with one condition: you must back up your seed words properly. Sparrow itself never sees your keys leave your device, and the software is open source so anyone can inspect it. The main risk is the same as with any self-custody wallet. If you lose your seed backup, your Bitcoin is gone. Follow the backup steps in this guide and you are fine.
Does Sparrow have a mobile app?
No, and there never will be an official one from the developer. Sparrow is desktop-only: Windows, macOS, and Linux. Any app calling itself Sparrow in a phone app store is a scam designed to steal your Bitcoin. Only download from sparrowwallet.com.
Should I choose Sparrow or Electrum?
Both are free, open source, Bitcoin-only desktop wallets. Sparrow has a clearer modern interface, friendlier multisig setup, and better hardware wallet integration, which is why we recommend it to beginners. Electrum is older, lighter, and still excellent, especially if you want a mobile companion. You cannot go wrong with either, but Sparrow grows with you further.
Can I use Sparrow with a hardware wallet?
Yes. Sparrow supports all the common hardware wallets, including Trezor, Ledger, Coldcard, BitBox02, Jade, Passport, Keystone, SeedSigner, and Krux, over USB or fully airgapped with QR codes and SD cards. You can also build multisig wallets across different hardware brands, which is one of Sparrow’s standout features.
The bottom line
Learning how to use Sparrow Wallet is one of the highest-value things a Bitcoiner can do in an afternoon. You download it, verify it, create a wallet, back up twelve words on paper, and you hold your own keys. No account, no permission, no counterparty.
Start small, test everything, and let the wallet grow with you. When you are ready, connect your own node and pair a hardware wallet. That is the full self-custody journey, and Sparrow walks the whole road with you. If you want to understand the rest of the picture, read our guide on storing Bitcoin safely next.
Your Sparrow wallet’s xpub can also be connected to a self-hosted BTCPay Server store, letting you accept Bitcoin payments with zero fees — see our BTCPay Server setup guide for the full walkthrough.